Case reference Quintessence Int 2004; 35:549-553.
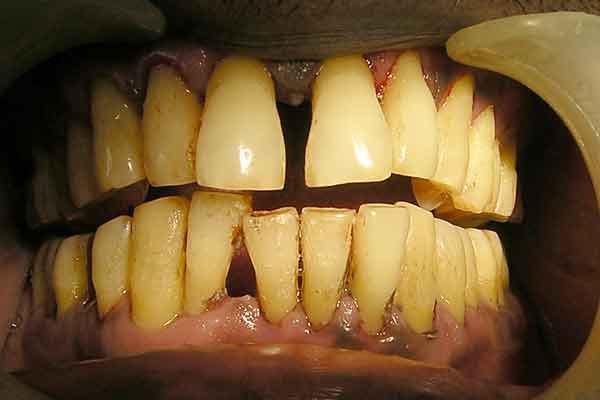
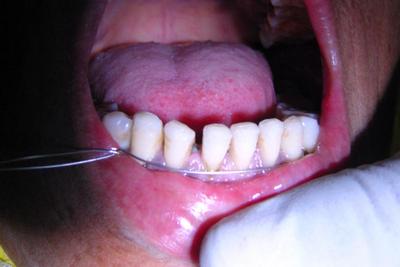
The patient was diagnosed to have localized periodontitis with tooth no 42 having grade III mobility and severe bone loss. Remaining anteriors also needed splinting. The treatment plan was to do oral prophylaxis, and get the 42 extracted and placed as a natural pontic along with the splinting of other teeth.
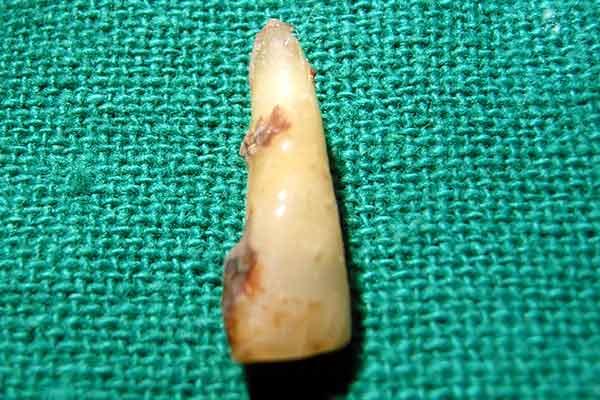
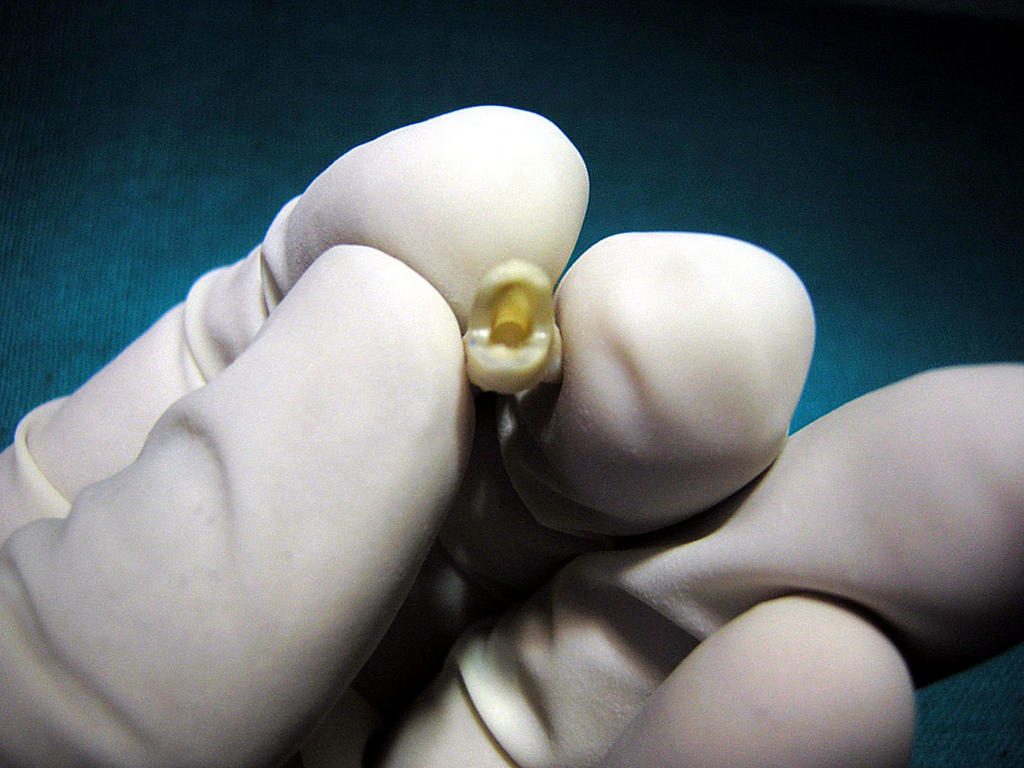
The tooth after extraction was brought from the oral surgery clinic. Some gross calculus can be seen on the coronal portion and the apical third of root of the tooth.

The tooth was cleaned extra orally with the help of an ultrasonic scaler.

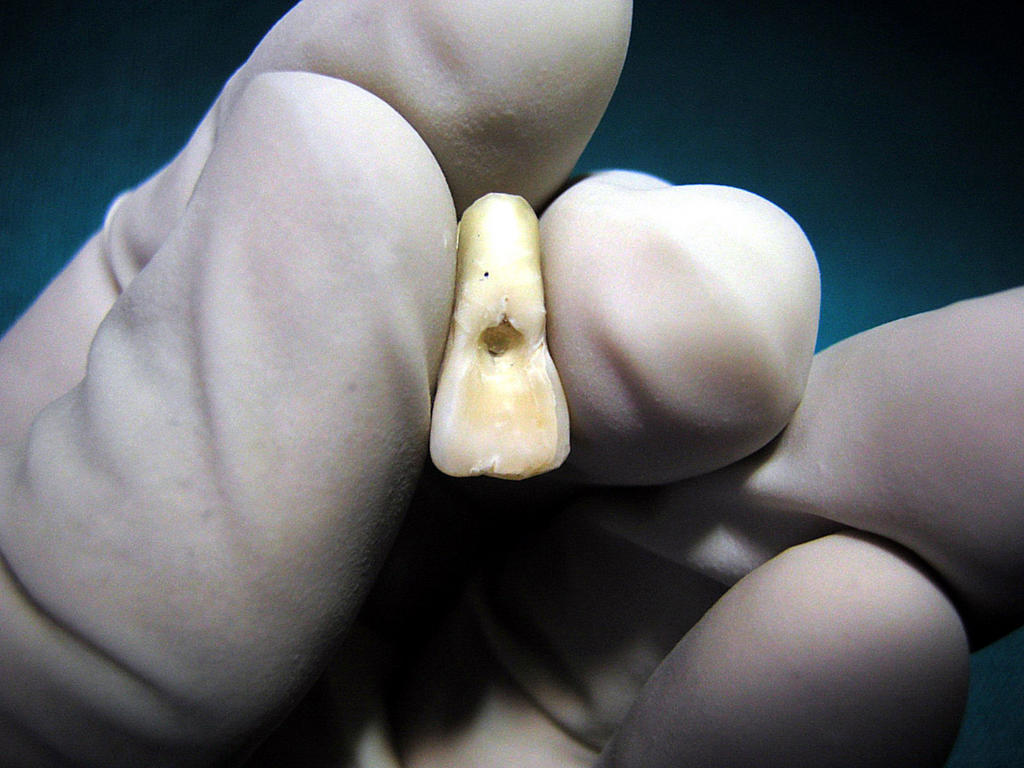
After thorough cleaning, the major half of the root was cut away. Access opening was done just as it is done in lower incisors though the opening was kept small to preserve tooth structure.
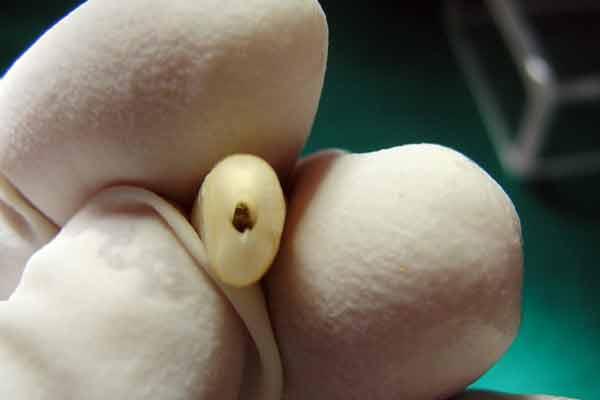 Apical view showing the opening which is later filled by composite
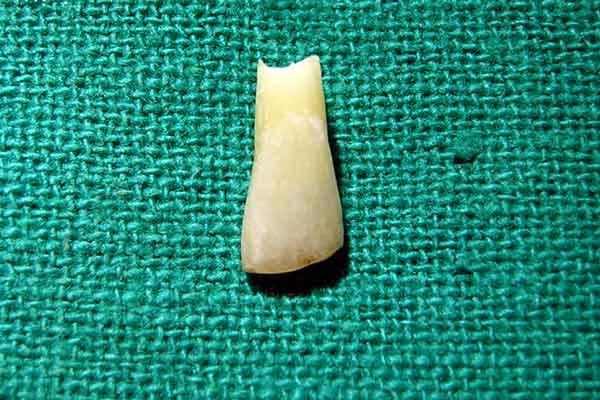
Facial of the same tooth.
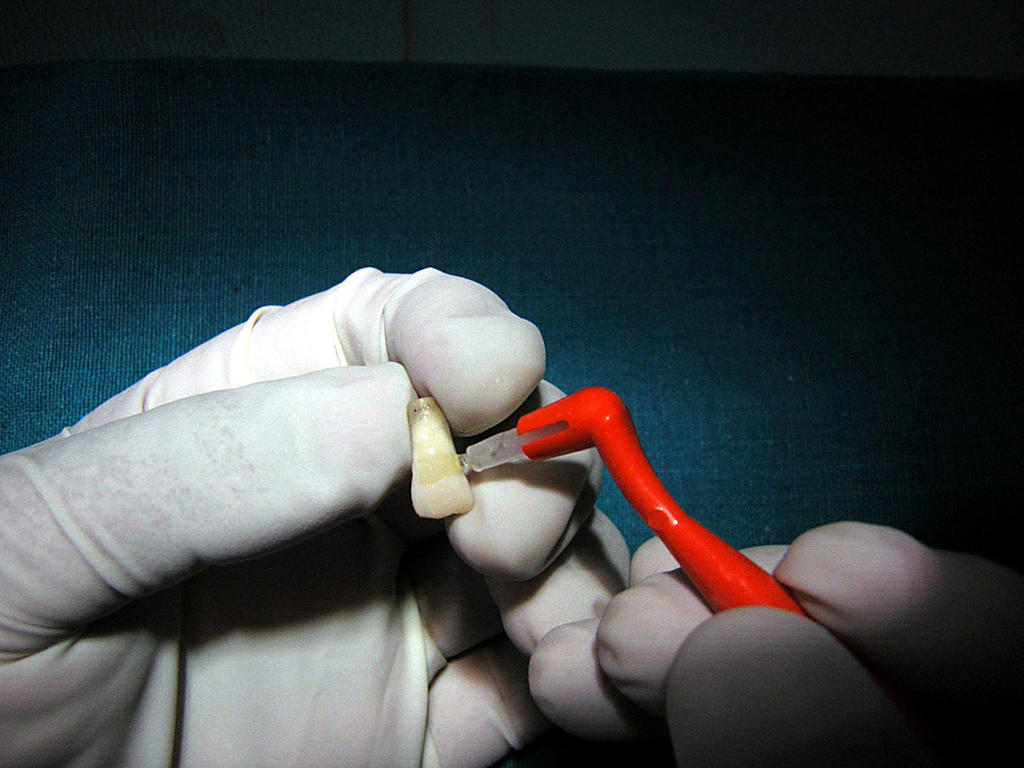
 Application of bonding agent on the whole of the surface of the tooth after acid etching.
 Curing with UV curing unit after the application of bonding agent.
The finished view after the curing procedure.
 The pontic was placed on the cast after taking the impression. It was fixed in the desired position with the help of wax. Care should be taken to place the pontic so that appears to emerge from the ridge but not directly over the ridge.
Also note that the tooth was placed so that no spacing is left on its mesial aspect in order to avoid the splint from being visible trough that space.
 A stone key was made to secure the tooth in that position. The figure is after dewaxing.
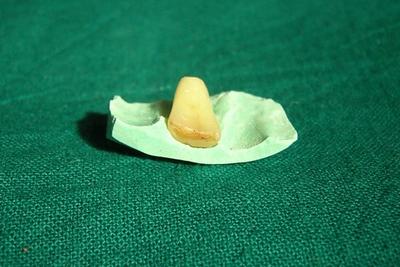 The pontic with the stone key after dewaxing.
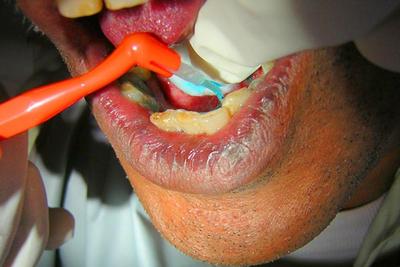
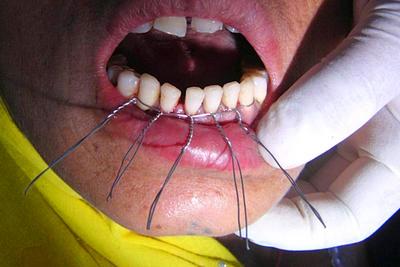
Acid etching of the teeth to be splinted along with the natural pontic.
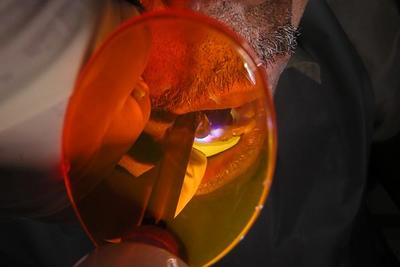
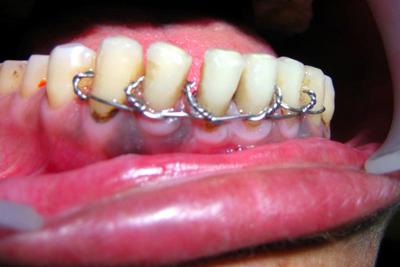
Curing the same along with the fiber splint.Also note the stone key [green] holding the pontic in pre adjusted position.

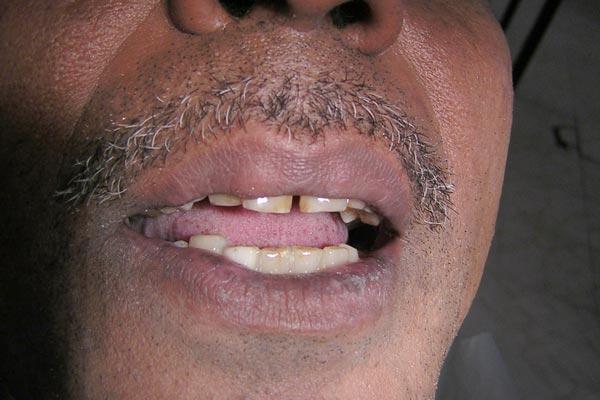
Final result with patient having his smile back.
Though the pontic appears a bit lighter than the adjacent teeth but as any other tooth it will gain its darker shade when in the oral cavity for a month or two.
 The above picture shows the upper anterior teeth in traumatic occlusion which has caused considerable mobility of the teeth.
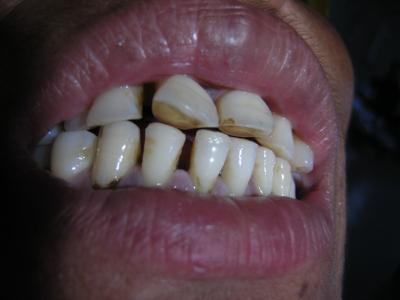


